How to Change and Customize Your WordPress Navigation Bar
Change, build, style, and fix your WordPress navigation bar.
Understanding WordPress Navigation Bars
A WordPress navigation bar is the set of links that helps visitors move around your site. It often sits in the header, near your logo. Most bars link to key pages such as Home, About, Services, and Contact.
Your theme controls the bar's first design and location. Its menu settings control the links and their order. A block theme may use the Site Editor, while a classic theme uses the Menus screen.
WordPress does not always create a full menu for you. Some themes show published pages by default. Others show a menu location with no links until you add one.
Before you edit anything, check which theme type you use. Go to Appearance in your WordPress dashboard. Look for Editor or Menus.
How to Change the Navigation Bar
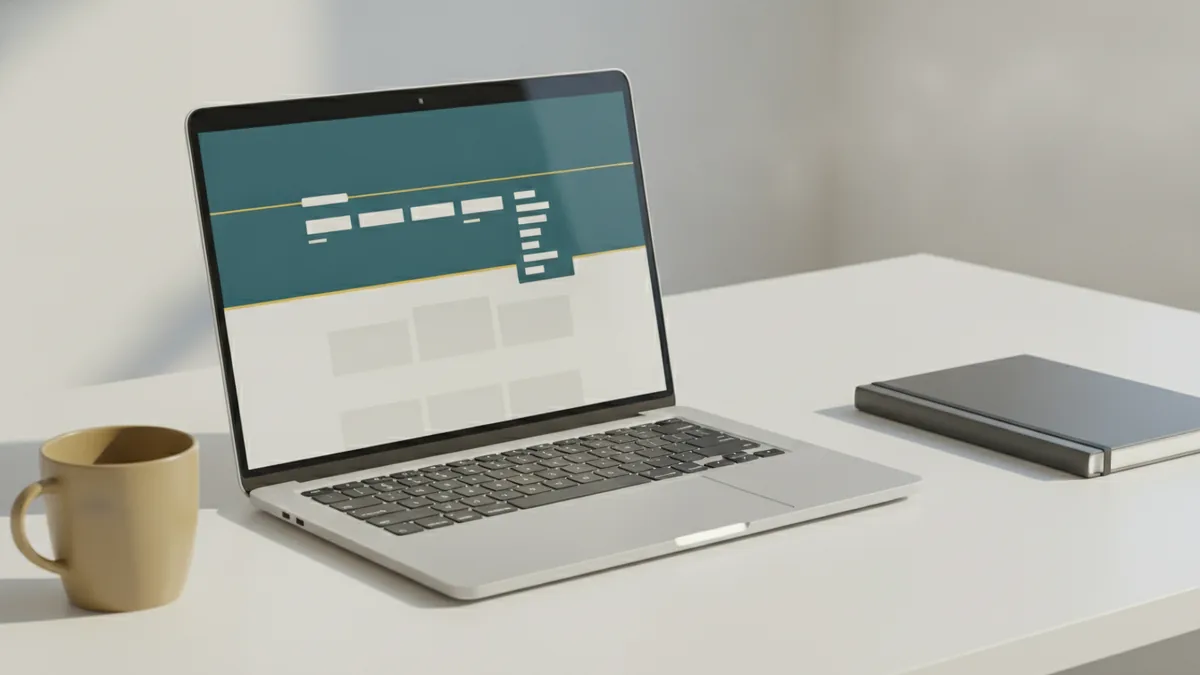
The steps for how to change the navigation bar in WordPress depend on your theme. Classic themes use a menu editor. Block themes use a Navigation block in the Site Editor.
- Back up your site before making major theme changes.
- Open Appearance > Menus for a classic theme.
- Choose the menu used in your header.
- Edit, add, or remove links in the menu structure.
- Use the Menu Settings area to pick its theme location.
- Click Save Menu, then view your site in a new browser tab.
For a block theme, open Appearance > Editor. Select Navigation or open the header area. Click the Navigation block, then change its links and style settings.
WordPress lets you assign one menu to more than one location. You can also use different menus for the header, footer, and mobile area. Check each location after saving.
Read the WordPress menu screen guide for classic theme steps. It explains menu locations and item controls from the WordPress project.
Creating a New WordPress Navigation Menu
To learn how to create a navigation bar in WordPress, start with a new menu. A menu is a group of links. The theme displays that group inside a chosen location.
- Go to Appearance > Menus.
- Click Create a new menu.
- Enter a clear name, such as Main Menu.
- Click Create Menu.
- Choose a display location, such as Primary or Header.
- Click Save Menu.
Use a name that describes the menu's job. A site may need Main Menu, Footer Menu, and Account Menu. Clear names reduce mistakes when a theme has many locations.
Block themes use a slightly different path. Open the Site Editor and select the header. Add a Navigation block if the header lacks one. Then create a new menu or select an existing menu.
A good main menu usually has five to seven top-level links. Fewer links make scanning easier. Group related pages under a parent item when the site has deeper content.
Adding Pages, Categories, and Custom Links
You can add several types of items to a WordPress menu. Pages work well for fixed site content. Categories help visitors browse posts by topic.
- Open the menu editor and select the menu you want to change.
- Tick the pages or categories you want to add.
- Click Add to Menu.
- Drag each item into the right order.
- Click Save Menu.
To add a custom link, open the Custom Links panel. Enter the full web address in the URL field. Add a short label in the Link Text field. Then click Add to Menu.
Custom links can point to an outside site, a landing page, or a page section. For a section link, use a URL such as https://example.com/services/#pricing. The target page must contain a matching anchor ID.
To build a dropdown, drag an item slightly to the right below its parent. Keep dropdowns short. A parent should have a clear purpose, even if visitors do not click it.
Use simple labels that match visitor needs. “Pricing” is clearer than “Our Investment Options.” Short labels also fit better on small screens.
Removing Menu Items Safely
Removing a link does not delete the page. It only removes that item from the selected menu. The page can still open through search, another link, or its direct address.
- Open Appearance > Menus.
- Select the menu with the unwanted item.
- Open the item's settings with the small arrow.
- Click Remove.
- Save the menu and test the header.
For the question of how to remove the navigation bar in WordPress, use care. Removing all links may leave an empty header area. A better choice is often to remove the Navigation block from the header or assign a different menu location.
Block theme users can select the Navigation block in the Site Editor. Open its settings, remove unwanted links, or delete the block. Save the template part after you finish.
Check mobile views after removing an item. Some themes use a separate mobile menu. You may need to edit that menu too.
Customizing the Navigation Bar's Appearance
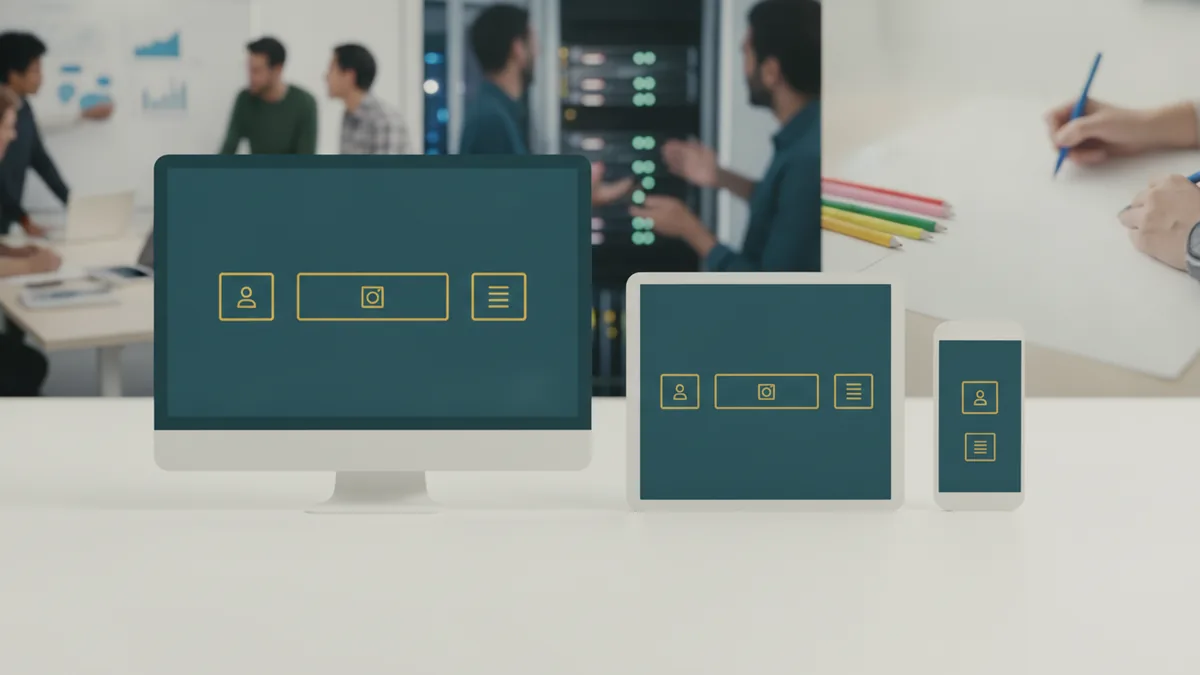
You can change many style choices without code. Open the Site Editor for a block theme. Select the Navigation block, then adjust color, font, spacing, and layout settings.
Classic themes may offer settings under Appearance > Customize. Look for Header, Menus, Colors, or Additional CSS. The exact names vary by theme.
CSS (Cascading Style Sheets) gives you more control. Open Appearance > Customize > Additional CSS in a classic theme. Add a small rule, save it, and check the result.
Use the following rules as a starting point:
| Goal | CSS example |
|---|---|
| Change link color | .main-navigation a { color: #222; } |
| Add link spacing | .main-navigation a { padding: 12px 16px; } |
| Change hover color | .main-navigation a:hover { color: #0a66c2; } |
Your theme may use a different class than .main-navigation. Right-click the bar in your browser, choose Inspect, and find its class name. Do not edit theme files directly, since an update can erase those changes.
Keep the bar easy to use on phones. Use strong color contrast and clear focus states. Avoid tiny links, crowded rows, and hover-only menus.
The WordPress navigation menu documentation covers menu code and theme support. It is the best source for developers working with custom themes.
Troubleshooting Common Navigation Issues
A menu may fail to appear for several simple reasons. First, check its assigned theme location. A saved menu does not show until the theme knows where to place it.
- Menu is missing: Assign it to the Primary or Header location.
- New page is absent: Add it by hand, or check automatic page settings.
- Dropdown will not open: Check the parent and child item order.
- Changes do not show: Clear the site and browser cache.
- CSS has no effect: Check the selector and remove conflicting rules.
- Mobile menu is wrong: Edit the mobile Navigation block or menu.
Some themes display a fallback menu when no custom menu exists. This fallback may list every top-level page. Create and assign a menu to replace it.
If a menu looks different after a theme change, the new theme may use other locations. Reassign the menu and review its styles. Test links on desktop, tablet, and phone widths.
Use a private browser window when testing cache problems. This removes saved page files from the test. If the issue remains, pause plugins that alter headers or navigation one at a time.
For most sites, the best navigation has a clear label, a sensible order, and few top-level links. Make the key action easy to find. Then test the full path as a first-time visitor would.
Step-by-step
- 01 Check your theme type
Open Appearance in the dashboard. Use Menus for a classic theme or Editor for a block theme.
- 02 Open the menu settings
Open the current menu or Navigation block in your header. Find the menu location used by your theme.
- 03 Edit the menu items
Add pages, categories, or custom links. Drag items to change their order and create dropdown levels.
- 04 Style the navigation bar
Use the block settings or Customizer for basic changes. Add CSS for finer control over colors and spacing.
- 05 Save and test
Save your changes, then test the menu on desktop and mobile views. Open each link before publishing.
Frequently asked questions
- How do I change the navigation bar in WordPress?
- Open Appearance, then Menus. Select the current menu, edit its items or style settings, choose its theme location, and save.
- How do I create a navigation bar in WordPress?
- Open Appearance, then Menus, and choose Create a new menu. Add links, select a display location, and save the menu.
- How do I add a navigation bar in WordPress?
- Use Pages, Categories, or Custom Links in the menu editor. Select an item, click Add to Menu, arrange it, and save.
- How do I remove an item from a WordPress navigation bar?
- Open the menu editor, expand the unwanted item, and click Remove. Save the menu after removing the link.
- How can I customize a WordPress navigation bar with CSS?
- Use the Site Editor or Customizer for basic styles. Use Additional CSS when you need control over colors, spacing, or hover states.
- Why is my WordPress navigation menu not showing?
- Check the menu location, page status, cache, and mobile menu settings. A theme may also use a separate Navigation block.
Related reading
How to Embed Instagram on WordPress
Embed Instagram posts, videos, and live feeds in WordPress with ease.
How to Put Mailchimp on WordPress
Add Mailchimp forms to WordPress and grow your email list with less effort.
How Do You Add PHP Code in a WordPress Page?
Add PHP to WordPress pages safely with shortcodes, theme files, and tested code.