How to Create and Customize a WordPress Drop-Down Menu
Build a clear WordPress drop-down menu with nested links and smart styling.
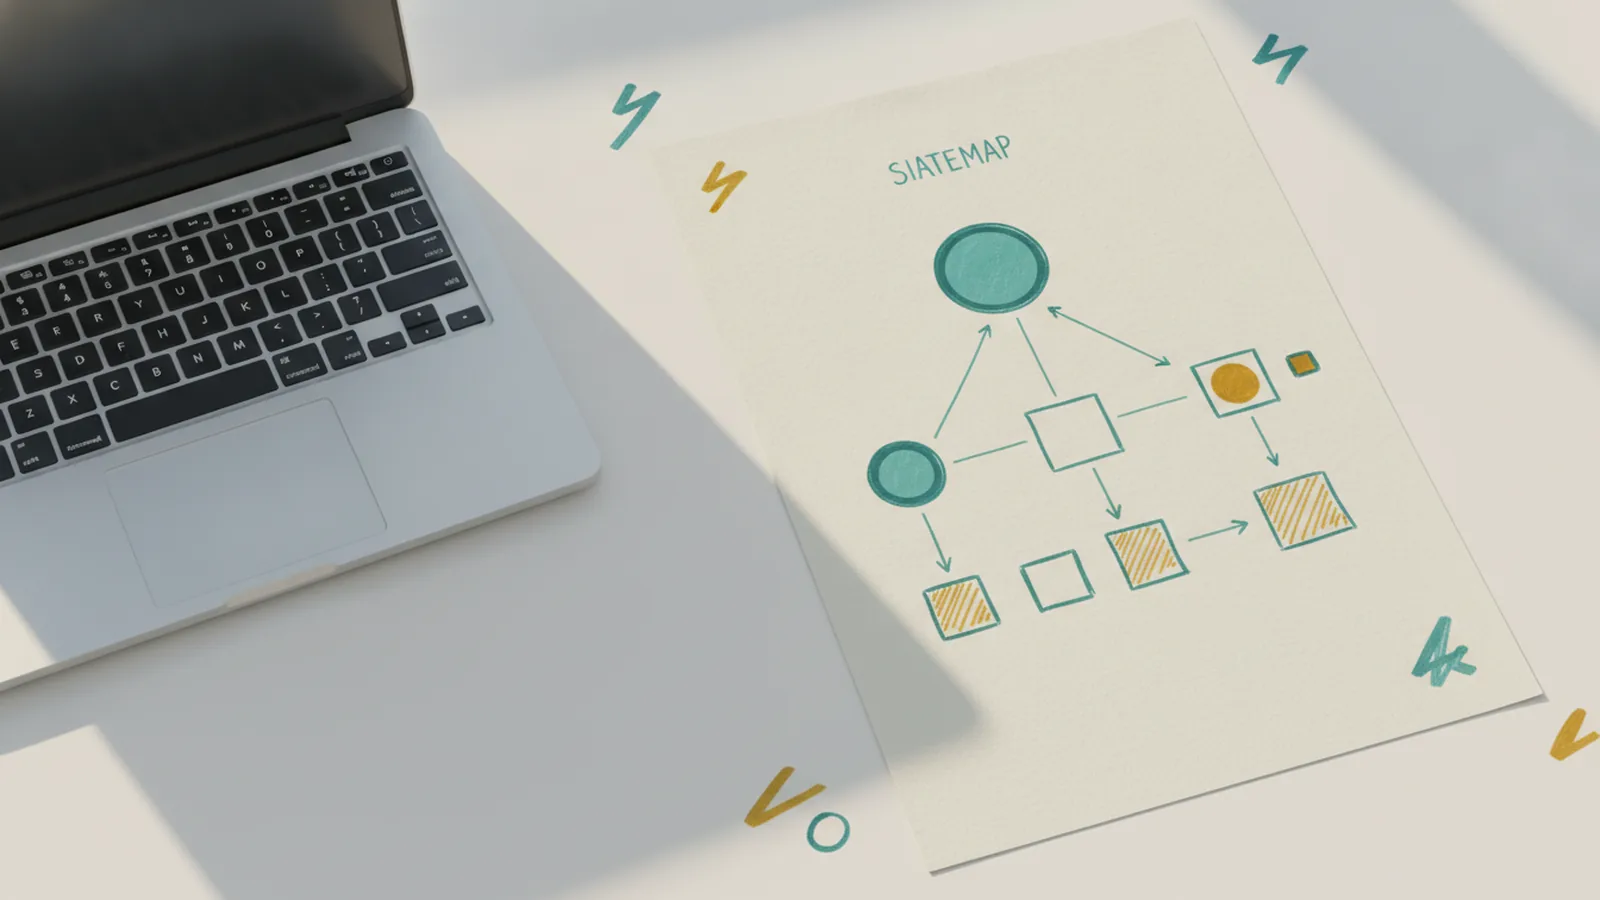
What a WordPress Drop-Down Menu Does
A drop-down menu shows extra links when a visitor opens a main menu item. WordPress calls these extra links submenu items. For example, “Services” can reveal “Web Design,” “SEO,” and “Support.”
If you ask, “how do I create a drop down menu in WordPress,” the short answer is simple. Add menu items, then move child items under a parent item. Your editor may be the Site Editor or the older WP Admin menu screen.
Drop-down menus keep your WordPress site navigation tidy. They group related pages and reduce the number of links in the main row. A clear menu hierarchy also helps visitors find key pages with fewer clicks.
- Use parent items for broad topics.
- Place related pages below the right parent.
- Keep each drop-down short enough to scan.
- Test the menu on phones and large screens.
Create a Drop-Down Menu in the Site Editor
The Site Editor works with block themes. You can edit the header, footer, and navigation block from one screen. This method is the best answer for users who want to create a drop down list in WordPress with a newer theme.
- Open your WordPress dashboard.
- Go to Appearance, then choose Editor.
- Open Navigation or select the header template part.
- Click the navigation block you want to change.
- Add a new page, custom link, or submenu item.
- Drag the new item below its parent item and slightly to the right.
- Save the navigation block and view the menu on your site.
To make a submenu, first add the parent link. Then select the child link and use the move control. The child item must sit beneath the parent with a visible indent.
You can also open the item menu and choose Make submenu. The exact label can vary by WordPress version. The official WordPress Navigation block guide explains the block controls and layout choices.
Save your changes before leaving the editor. Then test each parent item with a mouse, keyboard, and touch screen.
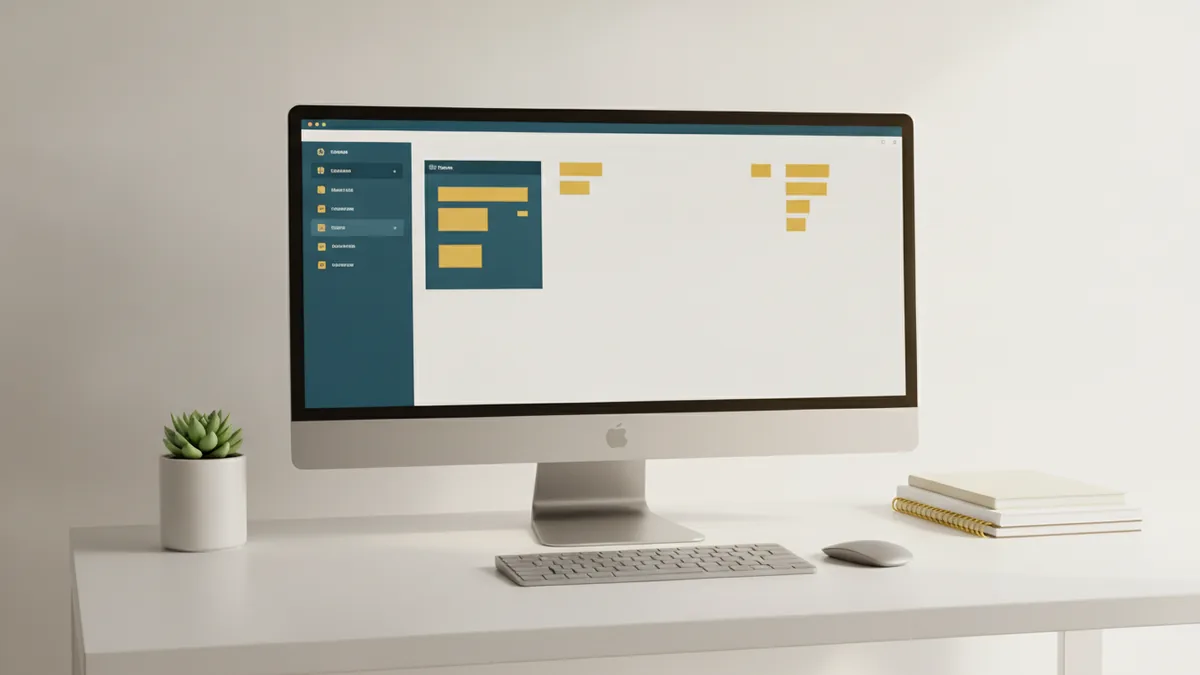
Use the Site Editor for Better Menu Control
The Navigation block gives you more than nested links. You can set the menu layout, link spacing, text color, background color, and font size. Start with the theme styles before adding custom CSS styling for menus.
Open the navigation block settings to control how the menu opens. Many themes offer a submenu icon or a setting that shows submenus on click. Choose a click-based menu when hover actions feel hard to use on mobile devices.
Keep labels short and clear. “About,” “Services,” and “Resources” work better than long phrases. A parent label should tell visitors what they will find below it.
| Menu choice | Good use |
|---|---|
| Parent page | The parent page has useful content of its own |
| Custom link | You need a link to another site or resource |
| Submenu | Several pages share one clear topic |
Add Nested Items Through WP Admin
Classic themes often use the WP Admin menu screen. This route answers “how to add drop down menu WordPress” for sites that do not show the Site Editor. It also gives you a direct view of the menu hierarchy.
- Open Appearance, then select Menus.
- Choose an existing menu or click Create a new menu.
- Select pages, posts, categories, or custom links.
- Click Add to Menu for each item.
- Drag a child item below its parent.
- Move it slightly to the right until the indent appears.
- Click Save Menu.
For example, place “Web Design” under “Services.” Place “Pricing” under “Services” too. Do not place “Pricing” under “Web Design” unless that relationship makes sense.
You can create more than one nesting level, but avoid deep trees. Two levels are easy to scan. Three levels may work for large sites, while four levels often feel hard to use.
Set the menu location after saving. Common locations include primary, header, footer, and mobile menus. Theme selection for menus matters because some themes hide or reshape nested items.
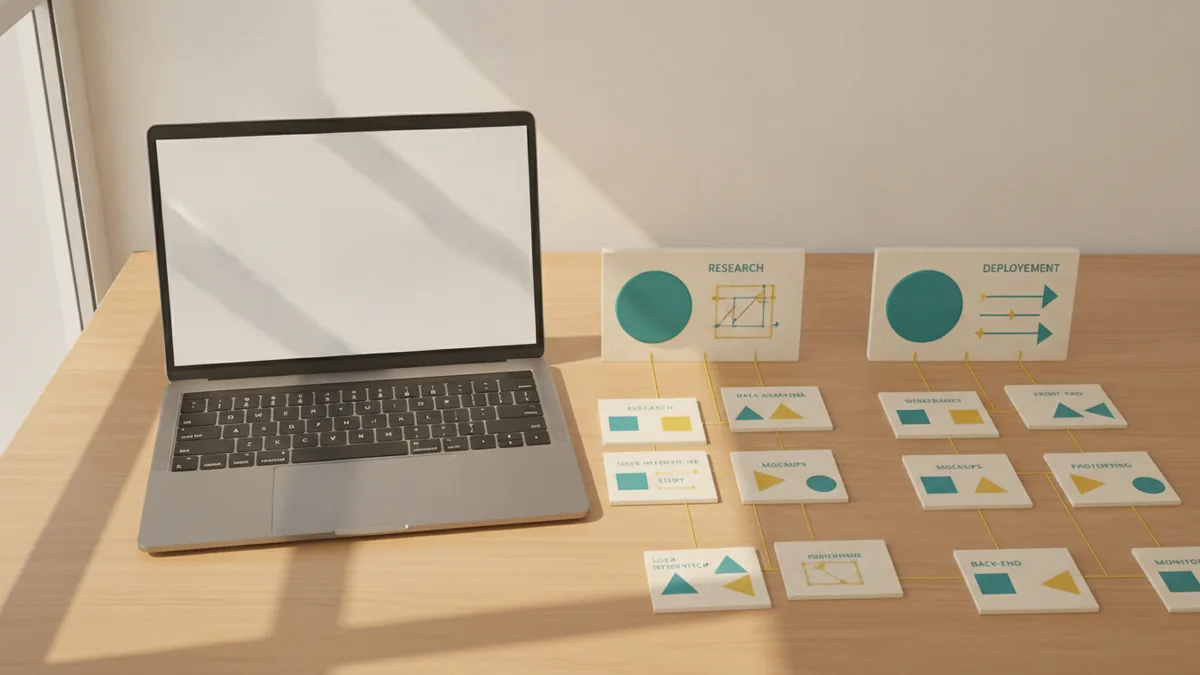
Customize the Menu’s Look and Behavior
Menu controls depend on your theme and editor. The WordPress Customizer may appear under Appearance for older themes. Block themes place these controls inside the Site Editor.
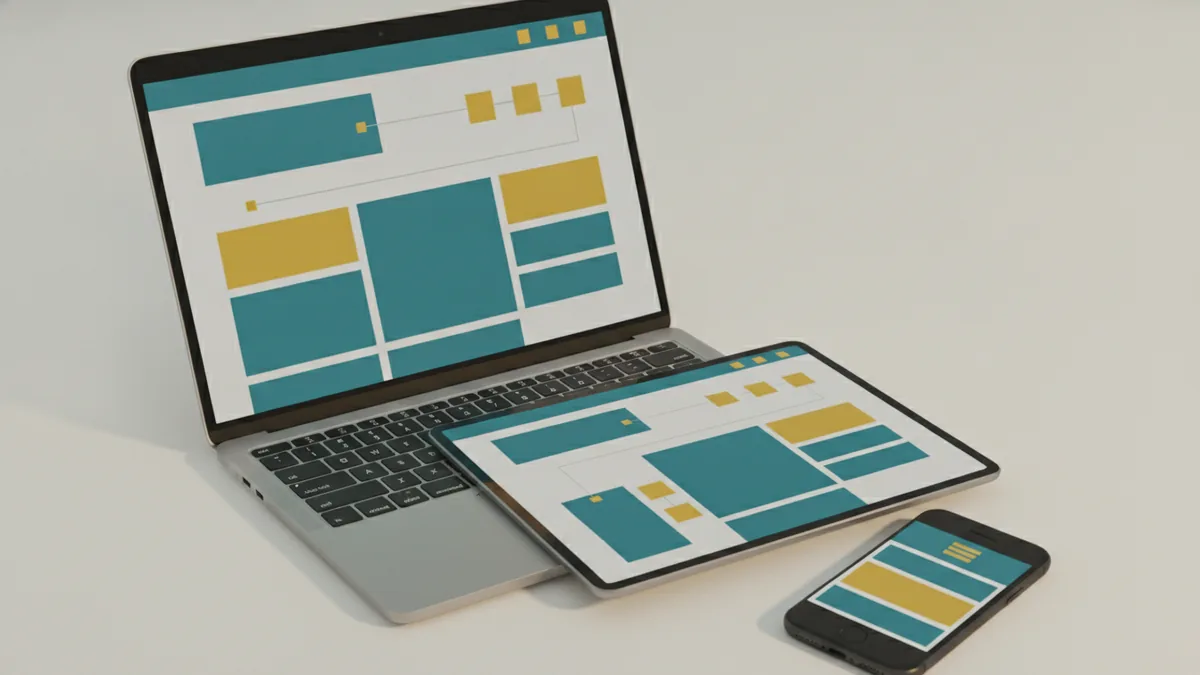
Change one visual detail at a time. Set a strong contrast between menu text and its background. Make the submenu wide enough for its longest label. A cramped menu can cause wrapping and accidental taps.
- Use a clear hover or focus state.
- Keep touch targets large enough for phones.
- Use the same font style across parent and child links.
- Check that keyboard users can open every submenu.
- Avoid hiding key pages inside several nested levels.
Custom CSS can fine-tune colors, spacing, borders, or arrow icons. Add CSS only after checking your theme settings. Theme updates can change class names or override your rules.
Test the menu in a private browser window. Check logged-out views, since admin users may see different links. Test Chrome, Safari, and a phone before publishing.

Make a Parent Item Non-Clickable
Sometimes a parent label should open a drop-down without leading to a page. You can add a custom link with a hash symbol. In WP Admin, choose Custom Links, enter # as the URL, and add your label.
For example, use “Products” as the label and “#” as the link. Then place product pages below it. Visitors can open the submenu while the parent link stays on the current page.
This method can work, but it has limits. A hash link may move the page to the top or change the browser address. Some themes also treat it in different ways.
A better option may be a parent page with useful content. You can still show child pages below it. This gives visitors a landing page when they click the parent label.
Plan the Menu Hierarchy Before You Build It
Good menus start with a page plan. List your main pages first, then group related pages under broad topics. Keep the top row focused on the pages visitors need most.
Use a simple outline before you edit the menu:
- Services
- - Web Design
- - SEO
- - Support
- Resources
- - Guides
- - Templates
Put important pages within one or two clicks from the home page. Do not add every page to the main menu. Use the footer for legal pages, account links, and less-used resources.
Review the menu after adding new content. Remove old links and fix renamed pages. A small menu audit each month can prevent broken paths and crowded drop-downs.
Final Tips for a Reliable Drop-Down Menu
Use the Site Editor when your theme supports it. Use WP Admin when your theme uses classic menu controls. Both methods can create nested links, but the buttons and settings differ.
Keep parent labels useful and child labels specific. Make the menu work without hover alone. Always check keyboard focus, touch use, and small screens.
If you want to know how to make a drop down menu in WordPress, begin with the site structure. Then add the links and set their levels. Finish with tests on real devices.
A clear menu helps visitors move through your site. It also gives each page a sensible place in your navigational structure.
Step-by-step
- 01 Open your menu editor
Use Appearance > Editor for a block theme. Use Appearance > Menus for a classic theme.
- 02 Add the parent link
Add a page, custom link, or category that will hold related child links.
- 03 Add child links
Add the related pages or links to the same menu.
- 04 Nest the child links
Drag each child below its parent and slightly to the right until an indent appears.
- 05 Set the menu location
Choose the header, primary, or mobile location offered by your theme.
- 06 Test and save
Save the menu, then test it with a mouse, keyboard, and touch screen.
Frequently asked questions
- How do I create a drop-down menu in WordPress?
- Open Appearance, then Editor. Select the Navigation block, add links, and move child links under a parent item.
- How do I add a drop-down menu in WordPress using WP Admin?
- Open Appearance, then Menus. Add your links and drag each child link below and slightly right of its parent.
- How do I add a submenu item in the WordPress Site Editor?
- Select the child link and use the submenu control, or drag it under the parent until the item shows an indent.
- How do I make a non-clickable menu item in WordPress?
- Add a Custom Link with # as its URL. Use a label such as Products, then place related pages below it.
- How many levels should a WordPress drop-down menu have?
- Use short labels, limit deep nesting, and test the menu on phones and with a keyboard.
Related reading
How to Move From Squarespace to WordPress Without Downtime
Move your site to WordPress with a safe export, clean rebuild, and smooth launch.

How Do You Edit Code in WordPress?
Edit WordPress HTML, CSS, and PHP safely with these clear steps.
How Do You Duplicate a Page in WordPress?
Duplicate WordPress pages with plugins, blocks, Elementor, Divi, or HTML.