How to Add AdSense Code in WordPress for Site Monetization
Step-by-step AdSense setup in WordPress with Site Kit or manual code.

Understanding Google AdSense and what you’re getting
Google AdSense is a program that lets eligible site owners show ads on their pages and earn revenue. It matches ads to your content and visitors using automated signals. Ads show up as responsive ad units, so they fit different screen sizes.
In practice, you add a small AdSense code snippet to your WordPress site. After approval and activation, the snippet requests ads from Google, then renders them in your chosen spots. Your earnings depend on factors like page views, ad engagement, and advertiser demand.
For a clean setup, you should plan for site monetization from day one. Keep a consistent page experience and avoid placing ads in ways that harm readability. This keeps your site more usable and can support better ad performance.
- AdSense uses your page content signals to pick ads.
- Ad placement strategies affect viewability and click behavior.
- Responsive ads help the same unit work on mobile and desktop.

Meet the requirements before you sign up for AdSense
Before you create an account, confirm you meet AdSense requirements. Many approvals fail because the site is too new, has thin content, or lacks clear site pages. Google typically looks for quality content, consistent publishing, and a real audience.
Prepare the basics in your WordPress dashboard. Add pages for privacy policy and terms, and make sure your contact or about page exists. Also ensure your site is accessible and not blocked from crawlers.
Next, review your site design and user experience. Avoid having lots of intrusive pop-ups or misleading navigation. If you want monetizing WordPress sites to feel trustworthy, focus on clarity and good layout first.
| What Google expects | How to do it in WordPress |
|---|---|
| Quality content | Publish helpful articles and keep them up to date |
| Clear site policies | Add privacy policy, terms, and an about page |
| Good user experience | Use clean templates and avoid spammy layouts |
| Accessible pages | Check robots settings and fix broken pages |

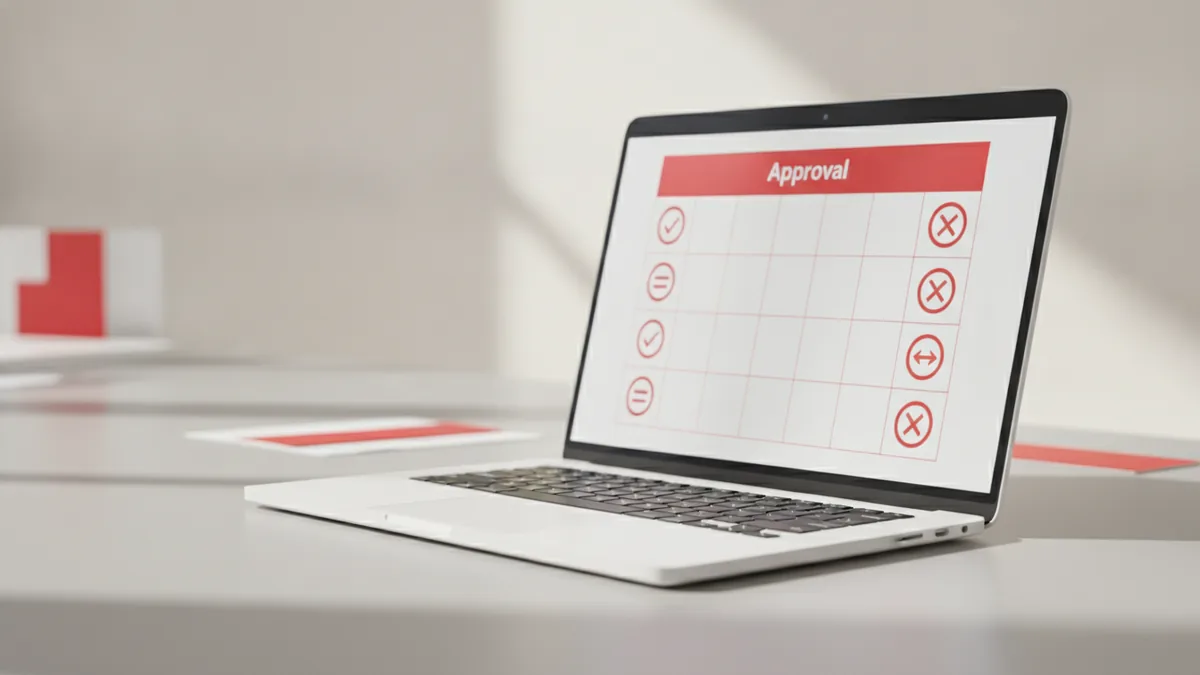
Create your AdSense account and get approved
To get started, sign up for Google AdSense with an account tied to your site. Use the same Google account you will keep long term, since you may manage multiple sites later. During signup, you’ll provide your publisher details and website URL.
After you submit, focus on approval basics. Many publishers wait days or weeks, then get a response email. If you are rejected, don’t paste code repeatedly across many layouts. Instead, improve content and site structure, then reapply.
Once approved, you’ll enter an activation phase for your AdSense account. You will also receive access to ad units and ad code. That is the code you will eventually add using WordPress code insertion techniques.
- Sign in to Google AdSense.
- Add your website URL and publisher information.
- Wait for review and respond to any requests.
- After approval, create an ad unit and get its code.
Connect AdSense to WordPress with Site Kit by Google
Site Kit by Google is a WordPress plugin that helps you connect key Google tools in one place. It can streamline setup by guiding permissions and verifying ownership. It also reduces manual steps when you’re learning how to add adsense code in wordpress.
To connect AdSense, install the Site Kit plugin from your WordPress dashboard. Then connect it to your Google account that owns the AdSense publisher profile. Site Kit will help confirm that your WordPress site is eligible and connected.
After the connection, you can enable AdSense within Site Kit. The plugin can insert the needed authorization bits, then let you place ad units through the plugin flow. That makes it a practical path if you want how to implement adsense code in wordpress without editing theme files.
- Install Site Kit from the WordPress plugins screen.
- Sign in and authorize access for your properties.
- Enable AdSense inside Site Kit once verified.
Insert AdSense code manually in WordPress
If you prefer full control, you can insert AdSense code manually. This is also useful if your theme setup blocks plugin insertion. This section covers how to insert adsense code in wordpress using the code provided in your AdSense dashboard.
Start by getting the right code for your ad unit. In AdSense, create an ad unit, then copy the snippet you are given. Many snippets include a script plus configuration values, so avoid editing the block unless AdSense tells you to.
Then choose a safe place for insertion. Many sites paste the snippet into a page layout element using a block editor, like a Custom HTML block. Others add code using a plugin for headers or post body insertion, which keeps edits from being overwritten.
- Create an ad unit in AdSense and copy its code.
- In WordPress, open the page or post where ads should appear.
- Add a Custom HTML block and paste the snippet.
- Save changes, then preview on desktop and mobile.
If you are asking how to put adsense code in wordpress for a whole site header or footer, use a plugin designed for site-wide code. This avoids editing theme files directly, which is safer during theme updates.
Always confirm you copied the complete snippet. A common mistake is pasting only a script portion. That leads to ads not loading and delays in account activation.
Customize ad placement, formats, and responsive behavior
After you have code added, you can improve results with solid ad placement strategies. Start with one or two ad units per page, then expand only if performance looks healthy. More ads is not automatically better. It can also harm layout and user trust.
In AdSense, you can choose ad formats based on where the unit will live. Typical examples include display ads, in-feed units, and matched content styles. If your pages are long-form, placing a unit between sections can work well. For short pages, a single unit near the top may be enough.
For responsive ads, keep the container clean. Avoid wrapping the ad in extra columns that shrink widths too much on mobile. Also check that your theme uses sensible spacing around the block so ads remain visible.
- Use one unit where the reader naturally pauses.
- Try in-feed units for posts with repeated structure.
- Prefer responsive formats that match your theme layout.
Here are practical placement ideas you can test and compare. These are not one-size-fits-all, but they help you decide where to start.
| Site area | Common approach | Why it can work |
|---|---|---|
| Blog post body | Place after an intro section | Readers are engaged and scrolling |
| Sidebar | Use one stable sidebar slot | Ad stays in view on desktop |
| Above the fold | Test a single top unit | High visibility on first load |
| End of post | Add a unit after key takeaways | Matches intent close to exit |
These steps help answer how to place adsense code in wordpress. They also guide how to place adsense ads on wordpress using a repeatable pattern across similar pages.
Troubleshoot AdSense issues after you add the code
If ads do not show after you paste code, you should troubleshoot in a structured way. First, check that your AdSense account is fully activated. Some publishers see “ready” pages but still need activation, which can take time after adding code.
Next, confirm the code is in the correct location. For manual insertion, verify you pasted the full snippet into a Custom HTML block. For plugin insertion, ensure the Site Kit connection is active and not set to a different property.
Then check the page rendering and caching. If you use a caching plugin, clear it after changing ad code. Also view the page in an incognito window to avoid cached results and logged-in variations.
- Check AdSense account status and activation messages.
- Verify snippet placement in the right post or template.
- Clear caching and test in an incognito browser window.
- Confirm your site is crawlable and not blocked.
If you still see blanks, open the AdSense troubleshooting view in your account. It can point you to policy issues, code placement errors, or approval delays. Also check that your content is not violating program rules for ad display.
When you update theme files, test carefully. A layout change can move the code into a hidden container, breaking rendering. Stable blocks and simple structure usually reduce these issues.
Next steps after ads start showing
Once ads appear, focus on iteration rather than constant changes. Start by logging where you placed each ad unit and what page types it sits on. Then compare performance over time, since day-to-day changes can mislead you.
If you change how to add google adsense code to wordpress later, do it deliberately. Keep one variable at a time, like moving a single unit from sidebar to in-feed. That makes it easier to learn what works on your audience.
Also keep a regular publishing schedule. AdSense performance often follows traffic quality and content depth. Strong articles help advertisers target more effectively.
FAQ: quick answers about adding AdSense code to WordPress
Note: The answers below focus on the practical setup steps people usually search for.
- How do I get AdSense code for WordPress? Create an ad unit in your AdSense account, then copy the snippet AdSense provides.
- Where do I paste AdSense code in WordPress? Paste it into a Custom HTML block in the post body, or use a site-wide code plugin for headers and footers.
- Why don’t ads show after I paste the code? Check account activation, confirm full snippet placement, and clear any caching. Also test in incognito mode.
- Can I use Site Kit instead of manual insertion? Yes. Site Kit can connect AdSense and simplify authorization, which reduces theme edits.
Step-by-step
- 01 Understand the AdSense flow
Know that you add code, Google serves ads, and your revenue depends on ad performance. Plan ad spots that keep pages readable.
- 02 Sign up and get approved
Create your AdSense account and submit your site URL. Improve content and site pages if you’re not approved the first time.
- 03 Connect with Site Kit (fast path)
Install Site Kit, connect it to your Google account, then enable AdSense inside the plugin. Confirm you see the connection status as active.
- 04 Or insert code manually (full control)
Create an ad unit in AdSense and copy its snippet. Paste it into a Custom HTML block or via a safe site code plugin.
- 05 Choose placements and test
Pick ad formats that match your theme layout and use responsive behavior. Test one placement pattern at a time and watch results.
- 06 Troubleshoot when ads don’t render
Verify activation, placement accuracy, and caching behavior. Use AdSense troubleshooting tools in your account if needed.
Frequently asked questions
- What is Google AdSense and how does it work on WordPress?
- AdSense shows ads on your site and pays you based on performance. You add a small code snippet, and Google serves ads matched to your pages.
- What do I need before I sign up for AdSense?
- You need a real WordPress site with quality content and clear pages like privacy and terms. Make sure your site is crawlable and not blocked.
- How do I get AdSense code for WordPress?
- In your AdSense account, create an ad unit and copy the code snippet it provides. Then paste it into the right place on your WordPress site.
- How do I add adsense code in wordpress using Site Kit by Google?
- Install Site Kit, connect it to your Google account, then authorize and enable AdSense. After that, you can place ad units with the plugin flow.
- How to insert adsense code in wordpress manually?
- Copy the full ad unit snippet from AdSense, then paste it into a Custom HTML block in your post or page. Save and test on mobile and desktop.
- Why don’t AdSense ads show after I implement adsense code in WordPress?
- Check your account activation status and confirm the full snippet is in the correct template. Clear caches and test in an incognito window to avoid stale renders.
Related reading

How to Install WooCommerce and Set Up Your Store
Install WooCommerce, shape your store, and get products ready to sell.

Create a Portfolio Website with WordPress
Build a polished WordPress portfolio, one clear step at a time.
How to Copy a WordPress Site to a New Home
Move a WordPress site with less risk, from backup to final testing.